Showing posts with label Vika Artur. Show all posts

Sunday, 1 July 2012

Vika Artur TV Stand


Materials: ikea Vika Artur Trestle with shelf, ikea Framsta wall bracket, ikea Betydlig wall bracket. Misc nuts & washers, threaded bar.

Description: Not being a fan of 'traditional' designs when it comes to some furniture, I was looking for something other than the normal style of wooden rectangle box, on legs, with doors approach to TV stands. Inspiration hit me in the face one day while looking at an easel in an art supplies shop, and some months later I found the parts I needed to make it happen in Ikea.

I took a Framsta TV wall bracket[s], and attached it to a Vika Artur trestle. This could be done in ten different ways.
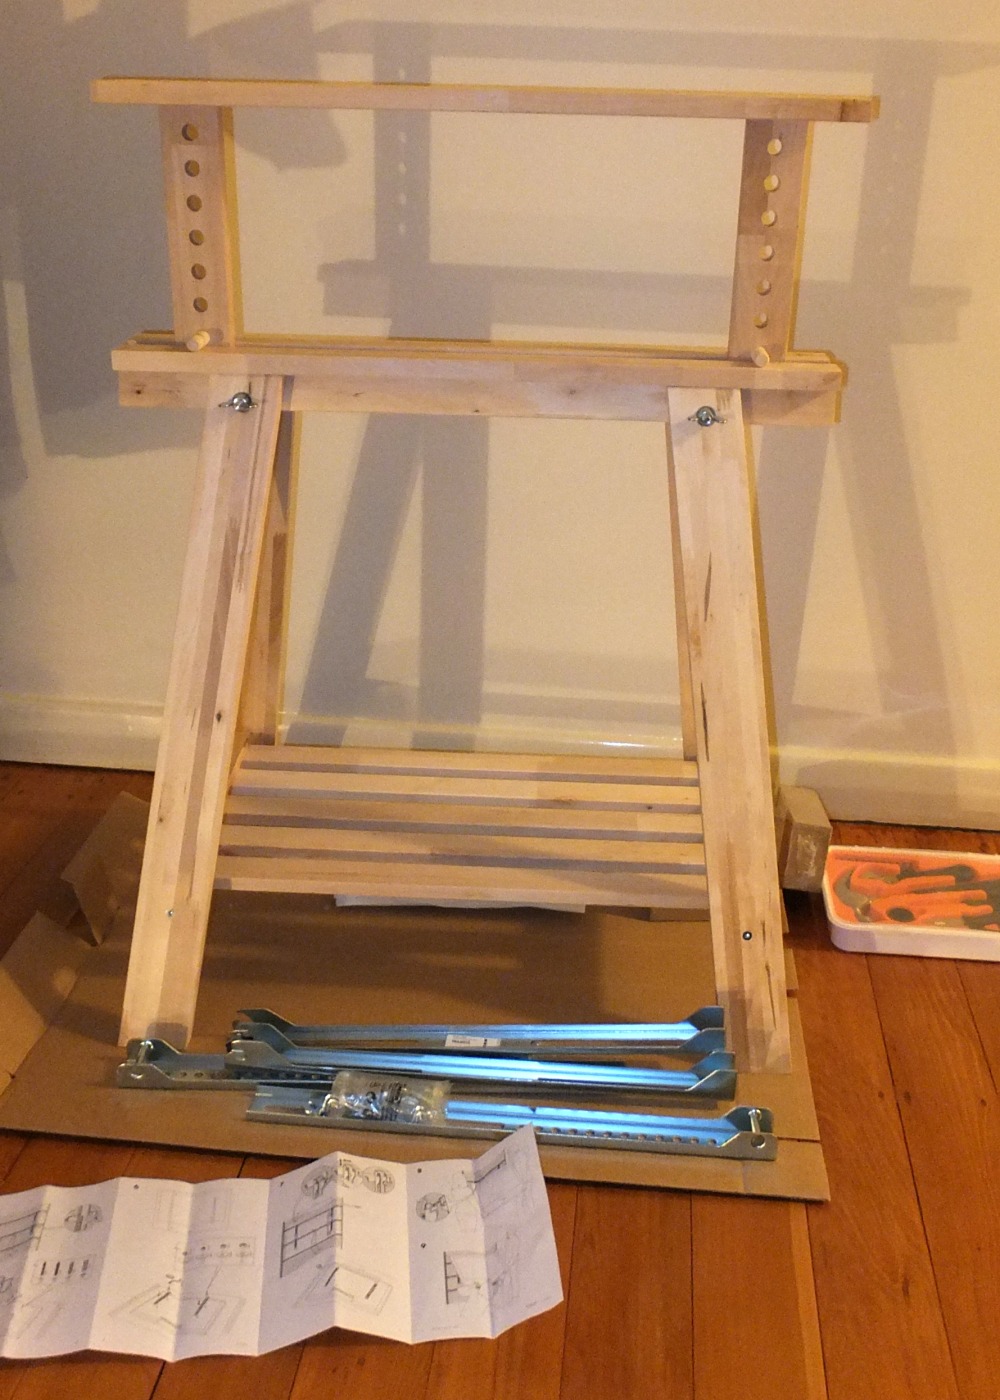


I fixed two small Betydlig brackets to each Framsta bracket, then fixed each Framsta bracket to the stand at each of the four points with two threaded bars, some nuts, wingnuts, washers, etc. Some drilling was required at the top of the trestle. You could use four smaller screws / bolts instead, as long as it's secure. I chose the Ikea Betydlig brackets, originally intended for hanging curtain rails, only for the finished look. You could use any bracket from a hardware store or make your own. Future add-ons include a Dioder for ambient backlighting.

I had no idea if this would work or not beforehand, because I was guessing with most of it. As it turned out, it suited my TV perfectly. This mod surely won't be suitable for all TV types, especially bigger or heavier ones. My TV is a 42", about 13kg sans stand, and 1.5 inches at it's widest spot, inconveniently at the very bottom. Both brackets are fixed at 400mm apart on this TV, meaning they come down over the legs. Since the trestle legs jut out, it's important to measure up everything and take out as much guess work as possible. The Betydlig brackets come with rubber pads that were conveniently big enough to use as a spacer between the Framsta bracket and the trestle, keeping the Framsta bracket out just enough that it doesn't touch the legs, keeping it vertical.

~ Anthony, Adelaide

Thursday, 23 February 2012

King Artur

Artur cross over trestle table

Materials: Artur trestles and a bespoke table top (DIY store); Both beech.

Description: I took two Artur trestles and mounted them cross-over.
To do so I cut out the pieces of the L-shaped wood in the lower (not moveable) part of the tresle that was in the way of fitting the 4 parts into each other (Artur pic no. 1) to form a cross (Artur pic no. 2).


Artur cross over trestle table

This needs some exact measurement and precise cutting with the saw. All 4 parts should be fixed with bolts.

The upper part can be cut like you see in Artur pic no. 1 and then mounted on the tabletop with bolts.

Artur cross over trestle table

~ Rainer Messerklinger, Vienna, Austria

Saturday, 29 October 2011

Growing up table

Materials: Vika Artur trestle, Vika Amon table top

Description: My son, Oscar, is turning three I was thinking to get him a table so he have somewhere to sit and do his drawing. I went to a couple of stores to see what they had to offer but after a while I started to wonder how many tables I had to buy before I could get him a "big boy" table. Wandering around at the IKEA workspace department I saw the Vika Artur trestle and had an idea so I ended up buying four "legs" two Amon 23" x 39" and an Amon corner.
After a couple of day thinking and measuring I started by shortening the three upper parts 5", or just so you get rid of the old holes, to fit with Vika Amon table top. To lower the legs, and to keep the right angles, I measured 18 1/8" on each corner and cut them. Then I drilled a new hole, for the shelf, 2 1/5" up. The shelf must be made smaller to fit, so the "end parts" have to be shortened 2 7/8" and the "shelf planks" 6 11/16".

The end result is one big table, or two small, that is adjustable from 20" to 29" and I don't have to go shopping for tables any more.

~ Jonas Bergstrom, Stockholm, Sweden