Showing posts with label Odda. Show all posts

Tuesday, 29 January 2013

ODDA and a half


Materials: 2 ODDA wardrobes. Nothing else.

Description: I liked the design of the ODDA wardrobe, but a single one was not enough. My problem was that I have a sloping ceiling so there wasn't enough room for two ODDA's.

My hack consisted in using one and a half out of two wardrobes and combining them into one single unit.

You start by building a normal right half.

Then you have to drill a few 5mm holes to attach the middle shelf of the central part.

The most delicate operation is the shortening of the left side. The panels are hollow and I wanted at clean top edge so I cut the surplus at the bottom and inserted at bit of scrap wood in the void at the bottom.

This panel now needs drilling quite a few new holes because everything has been shifted downwards.

Once the left panel is ready, everything can be assembled like a normal ODDA.

As a side note, what is left over can be assembled into a one-module wardrobe.

My plan is to add an extra compartment with a top-hinged door on top of the right side. This will give a nice staircase effect and more storage at no cost.

~ Finn Bo J�rgensen, Brittany, France

Thursday, 5 July 2012

Besta Odda Loft Bed


Photo: IKEA.com
Materials: BESTA, ODDA, metal braces and L brackets + Trofast

Description: My daughter has always wanted a low loft bed for her room. I did a surprise room makeover for her while she was away at a one week sleep away camp.

At first I bought a low loft bed from Walmart and after finished assembling it, I realized how bad it looked in her room. My son who has an Odda bed (pix, right) offered to take the ugly Walmart loft and swap it with his bed.

Having only 2 days left to complete the surprise, I bought some Besta bookcases to make the base and turned the Odda bed into a loft bed.


First I assembled all the Besta bookcases and screwed them together with some metal braces and L brackets.


Then I assembled the Odda bed frame on top of the Besta base, and screwed them to the base with L brackets.


We had a safety bed rail lying around that we were no longer using, so I used it to make the side wall for the loft.


Final step is adding the Trofast shelves for the stairs.

I drew all of the pieces in 3D before heading to Ikea to buy all the items. Thanks to Ikea website that listed all product dimensions, all the pieces fit perfectly in the room.

My daughter loves her new room.

*Note* I know the Besta has an exposed back next to the stair. I'm planning to finish it with some fabric. I built this whole thing by myself in 2 nights. It was good enough for the surprise.

~ Lis Vesurai, California

Tuesday, 4 May 2010

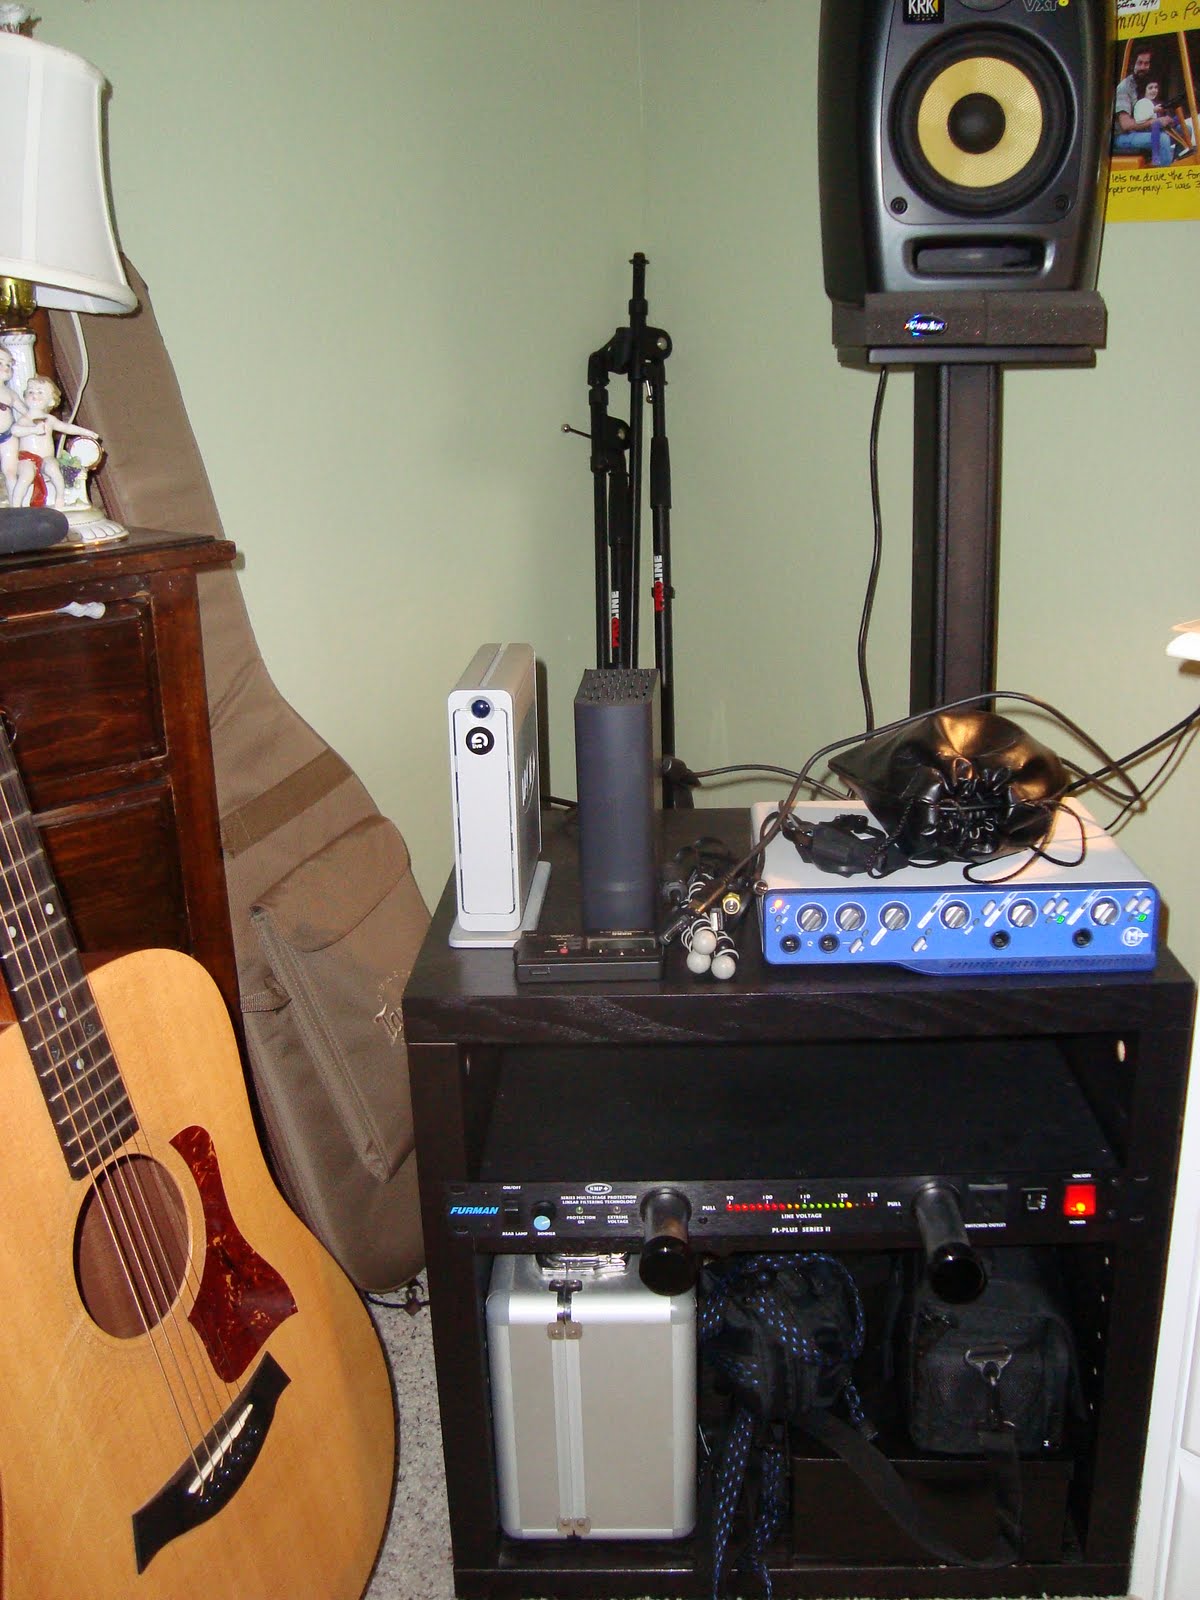
Dorm room to the Studio


Materials: Ikea ODDA night stand

Description: Being a recent college graduate without a job, sometimes you have to be creative. I had two Ikea night stands, which I turned into rack mounts for my audio gear. I popped off the four wheels. It just so happens that the width of the night stand is exactly the same width needed for a rack for audio equipment. All I had to do was drill holes on either side of the stand and then slip the racks right in. Hope you enjoy!

~ Sammy Stein

Monday, 26 April 2010

How to change an old "ODDA" into fine art piece


Materials: ODDA bed side table, paint, silver polish...

Description: After having seen some nice designs on classical furniture, I tried to do the same on an old Ikea bed side table I found next to the bin! After a little sanding and an undercoat, I traced the drawing, then painted details and finished with a silver polish and tinted varnish... Et voila!!!


~ M�lanieblue, Nice, France

See more of Melanie's painted Odda bedside table.